.png?ixlib=gatsbyFP&auto=compress%2Cformat&fit=max&rect=0%2C0%2C252%2C190&w=252&h=190)
.png?ixlib=gatsbyFP&auto=compress%2Cformat&fit=max&rect=68%2C0%2C663%2C500&w=252&h=190)


How To Get Glass Skin
The new sought after skin trend - glass skin. The reflective glow that demonstrates ultimate skin health and hydration is easier to achieve than you might think. The key to glass skin is a tailored beauty routine with the right skincare products. Not only that, but remaining consistent, customising to your skin type to address common skin concerns, all while focusing on gentle, hydrating products for a plump and radiant complexion.
What Is Glass Skin?
Glass skin is a viral Korean skincare trend that blew up on social media. It is essentially skin so healthy and clear that it looks like polished glass. With its roots in K-beauty, the glass skincare trend has global reach as many are searching for ways on how to get glass skin. This natural skin approach has three main characteristics being:
- Natural: Emphasises a bare-face, healthy and effortless glow
- Smooth: Soft, texture and pore-free complexion that shows no signs of roughness or bumps.
- Reflective: Dewy, hydrated and radiant skin
11 Step Glass Skincare Routine
How can I get glass skin naturally? Achieving glass skin requires dedication, results don’t typically happen overnight especially if you suffer from common skin concerns. However, low contrast and minimal makeup can mimic glass skin for a quick fix. What is the contrast makeup theory? It focuses on highlighting your own individual features to complement your natural beauty.
But to answer your original question, a well-structured skincare regimen that focuses on deep hydration, nourishment and skin barrier protection will ensure you’ll be well on your way to the skin of your dreams. With these 8 steps, your skin health will be in the best condition it’s ever experienced.
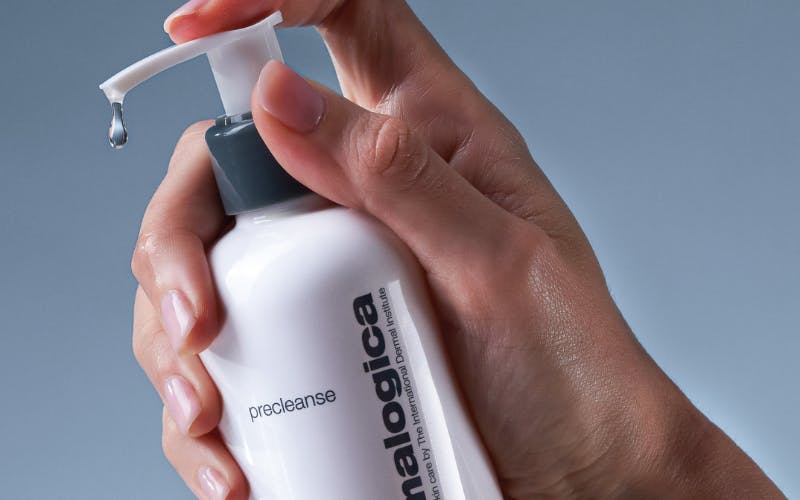
Double Cleanse
The first step of any skincare routine is to cleanse. However, the crucial part of this step that many neglect or do not know about is double cleansing. Double cleansing ensures that all dirt, oils and impurities are dissolved for an entirely clean base for the rest of your skincare. Start with an oil cleanser such as the Dermalogica PreCleanse that melts away any skin build-up from throughout the day. Follow with the Dermalogica Special Cleansing Gel, a gel & foam cleanser that can now penetrate even further into the skin to wash away toxins and debris. Suitable for all skin types, this face cleanser leaves the skin feeling smooth while maintaining its natural moisture balance - exactly what you want in your glass skincare routine.
Exfoliate
Regular exfoliation can tremendously change the overall texture and tone of your skin. By removing dead skin cells that build up on the surface, your left with a fresh and radiant complexion. However, there is such thing as too much exfoliation, which can cause adverse effects and damage the skin barrier. It is recommended to exfoliate your face 2-3 times per week for optimal skin health. A gentle exfoliant that prevents irritation is key, which is why the Dermalogica Daily Microfoliant is a great option, especially for beginners in skincare. A formula gentle enough for every day use, combining Salicylic Acid and rice enzymes to provide skin brightening and smoothing benefits.
Tone
A hydrating toner is important in the routine for glass skin as it works to rebalance the skin’s pH, refine pores and prep the skin for better absorption of serums and moisturisers. The Medik8 Daily Refresh Balancing Toner moisturises and calms the skin while visibly refining skin texture. This toner for face is infused with conditioners and antibacterials to promote skin balance and boost defence mechanisms to maintain a healthy glow.
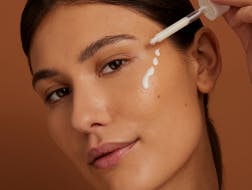
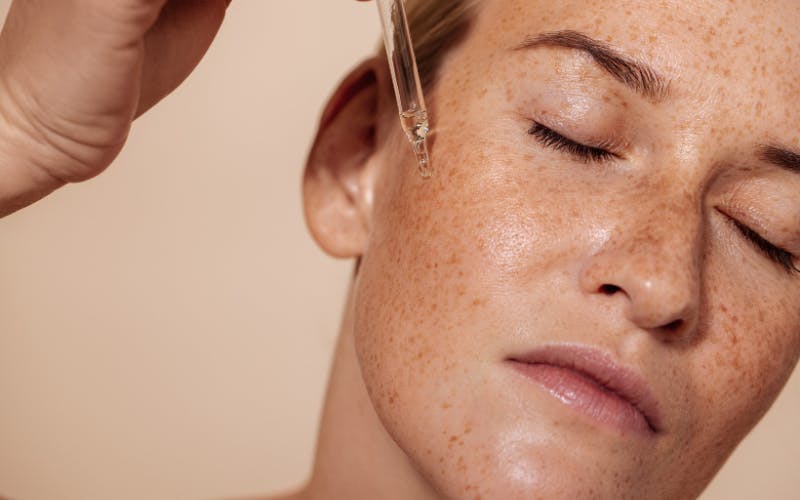
Apply Face Serums
Face serums & treatments provide higher concentrations of active ingredients to target specific concerns with better absorption into the skin. From skin brightening to hydration and evening out skin texture, there is nothing a serum can’t do which is why they are essential for any skincare routine. Let’s dive into the best brightening skincare ingredients for glowing skin.
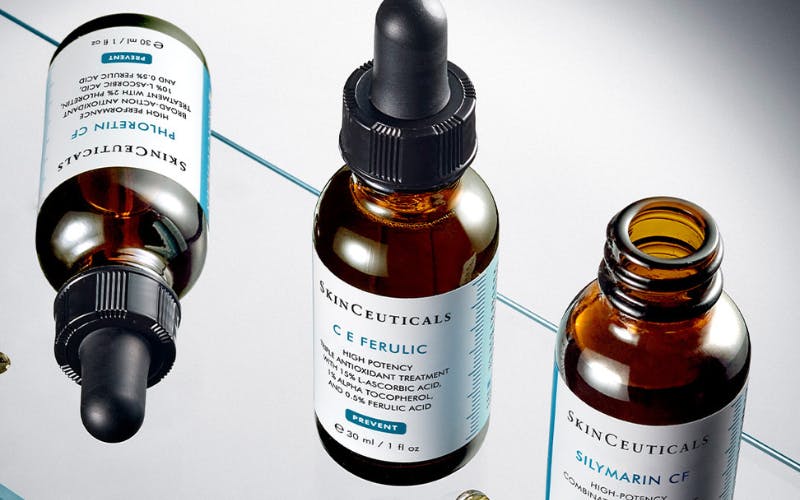
Vitamin C Serum
For those who struggle with dull skin, pigmentation and uneven skin tone, a Vitamin C serum will elevate your skincare game. The SkinCeuticals C E Ferulic is a best-selling antioxidant pigmentation serum that protects the skin from environmental aggressors while improving fine lines and dullness in the skin. A staple in any anti-ageing skincare routine with added benefits of reducing pigmentation. For glowing skin, SkinCeuticals is a go-to throughout the skincare tips our salon experts swear by as the product range is known to delivering results in skin health and appearance.
Hyaluronic Acid Serum
Glass skin is not achievable without hydration. Using a Hyaluronic Acid serum in your routine will ensure moisture is locked in and the skin is left feeling plump and hydrated. The Medik8 Hydr8 B5 infuses your skin with long-lasting intense moisture from the deepest layer of the skin right to the surface. The perfect skincare product for dehydrated skin as this serum leaves the skin feeling supple, restored and nourished.
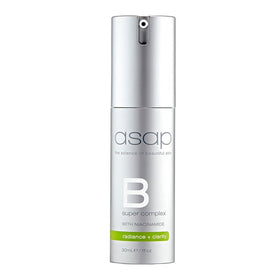
Niacinamide Serum
Niacinamide is another hydration agent in skincare that also reduces the appearance of pores, calms redness and strengthens the skin barrier. A powerful active that boosts skin hydration and rejuvenation. The ASAP Super B Complex is known for its ability to deliver radiance and clarity to the skin. By boosting collagen production, refining pores, reducing fine lines and wrinkles, this anti-ageing serum delivers a smooth, plump and glass-like skin complexion.
Moisturise
The next step is to lock in all the magic of your serums with a moisturiser. Look for ingredients such as Ceramides and Peptides to ensure deep hydration and skin barrier support. The SkinCeuticals Triple Lipid Restore 2:4:2 is a unique formulation that restores the skin’s barrier, supports self-repair and nourishes the skin to prevent skin ageing. The perfect solution for dry skin types as the combination of Ceramides and Fatty Acids delivers results of improved skin smoothness and overall radiance.
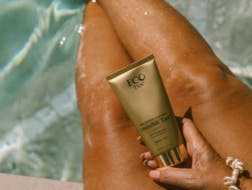
Use Sunscreen
SPF is a daily non-negotiable if you want to achieve healthy, glowing skin. If skincare sunscreen intimidates you because all you have experienced are clogged pores and a heavy, greasy feel on your skin, then finding sunscreen that feels comfortable on your skin is key. Which SPF sunscreen is best really depends on your skin type. Opting for non-comedogenic formulas will ensure the skin stays balanced and clear of breakouts. SPF is crucial for protecting your skin from sun damage that leads to premature ageing and hyperpigmentation - it truly is the secret to getting AND maintaining glowing skin. The O Cosmedics Mineral Pro Tinted SPF 50+ is a sheer coverage tinted sunscreen that protects the skin from broad spectrum UVA and UVB rays, while also evening out tone to deliver a flawless skin finish. Multifunctional products to simplify your beauty routine, make your journey to reaching your skin goals much more time achievable, especially for those with busy lifestyles who find in-depth skincare routines unrealistic. Can be worn on it’s own for an effortless glow or perfectly under makeup for a luminous radiance.
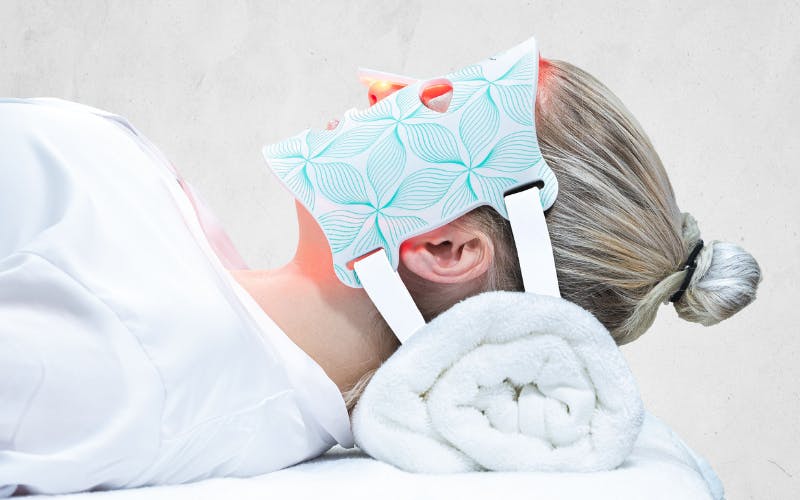
LED Masks
LED Light Therapy masks are the new innovative skincare beauty tools and devices that enhance skin clarity, reduce inflammation, and promote collagen production for a smoother, firmer complexion. The different light therapy options target different skin concerns:
- Red light: Targets inflammation, pigmentation and redness by prompting cellular repair and circulation for brighter skin.
- Near-infrared light: Targets deeper fibroblast cells to stimulate collagen and elastic production for plumper, firmer skin.
- Blue light: Neutralises and kills acne-forming bacteria in the sebaceous glands that cause breakouts.
The Omnilux Contour Face uses red and near-infrared light to minimise visible signs of ageing and improve overall skin texture, tone, firmness and health. The perfect addition to your self-care routine that promotes a glass-skin appearance with consistent use.
Hydrate
Most important of all - drink your water! Hydration from within goes a long way when it comes to your skin health. By drinking at least 2-3L of water per day, you’ll see huge improvements in your skin’s pH balance, texture, elasticity and glow. Water is essential for flushing out toxins and providing hydration for all systems and organs of the body. If you find yourself struggling to up your water intake, try adding lemon or cucumber for a flavour boost. Even add in some electrolytes such as The Beauty Chef Hydration Inner Beauty Boost which is the perfect ingestible skincare treat that makes drinking water so much easier. With Hyaluronic Acid, your skin will love you with the extra hydration from within.